Journey With Rebecca

Edit Content
ABOUT AUTHOR
Rebecca
It took a long time for the things I am passionate about to awaken within me. Now that they have, I am eager to share them with others.
Our gallery

Easy Raspberry Filling!

Natural Homemade Deodorant

Save For Later!

Walk down the deodorant aisle of any grocery store, and it is easy to see how someone can become overwhelmed with the abundance of choices you have.

chemist-gb4ef02d86_1920

Powder. Spray. Roll-on. Gel. Solid. Invisible Solid. The list goes on!

So many Choices

All this before you even get around to choosing a scent! With all the choices available, you can see how personal preference can vary from person to person. One thing that is consistent though is the fact that most of these deodorants have one thing in common. Chemicals. Chemicals such as aluminum, phthalates, and parabens (just to name a few), have all been found to be harmful to your health. You wouldn’t add a bunch of toxins to your food to ingest, so why add toxins to your skin for it to be absorbed into your body?

Disclaimer: This section contains affiliate links, which means I may earn a small commission when you purchase through links on my site at no additional cost to you.
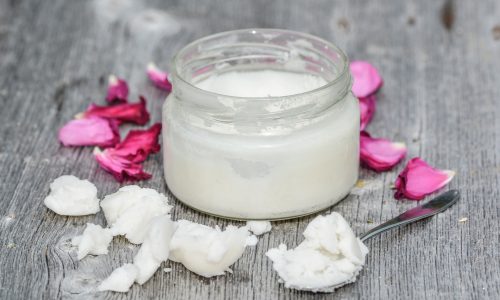
coconut-oil-g8933c71b6_1920

Simple and Inexpensive Ingredients

By mixing a few simple and inexpensive ingredients, you can make an all-natural alternative that works just as well. Plus, you will have peace of mind that you are not putting harmful ingredients on your body.

One of the reasons I love this recipe is because you can switch out the essential oils and change the scent, depending on your mood or even the season! Try lemongrass for the summer or peppermint for winter. In addition, you can get creative and mix and match your oils to create your own, personal scent!

Here is what you will need:

Fair warning!

Fair warning: once you stop using store-brand deodorant, your body is likely going to go through a detox period. You will stink! Don’t panic! Your body will take a while to regulate and this is totally normal. Continue to use the homemade deodorant while your body is detoxing. 

An Important note

It is important to note that when the temperature rises, your deodorant will liquify. It is smart to keep your deodorant stored in a manner that it will not leak if it does liquify. I keep mine in an empty store-bought deodorant stick with a container underneath it to catch any that may leak. Alternatively, you can place it right in the fridge. As an added bonus, it will be cool and extra refreshing! Coconut oil will liquify at about 77° F.

Natural Homemade Deodorant

I will never go back to store-bought deodorant!
Author: Rebecca

Materials

  • 5 Tablespoons Coconut Oil (Organic Recommended)
  • 1 Tablespoon Corn Starch
  • 1 Tablespoon Baking Soda
  • 5-10 Drops Essential Oil of your choice
  • Bowl and utensil for mixing 

Instructions

  • Melt the coconut oil in a microwave safe dish. This will melt quickly so be sure to melt in small increments of about 30 seconds at a time. You can also use a double boiler, but I have found the microwave to be quicker. 
  • Add corn starch and baking soda, mix well. 
  • Once it is well combined, mix in your essential oils. You can even mix and match if you would like. 
  • Place in refrigerator for about 30 minutes, or until completely solid. 

Video

Notes

A few key takeaways: 
  • This is not an anti-perspirant. You are still going to sweat. That is a good thing! It means your body is releasing toxins and maintaining your body temperature. 
  • You may go through a period when your body is detoxing from years of store-bought deodorant usage. This is normal! During this time though, the DIY deodorant may seem to stop working for a bit. I kept with it and once my body was done shedding the toxins, it has worked ever since! 
  • If you live in a warm climate or it is warm in your home, you may want to consider storing your deodorant in the fridge.  
  • Based on your preference, you can use your hand to apply the deodorant, or you can use an old deodorant stick, which is what I prefer. If you are using an old stick and are choosing not to store it in the fridge, you may want to consider keeping the deodorant contained to avoid a mess. One warm day and your deodorant could melt everywhere! 
ABOUT AUTHOR
Rebecca

Hello, I am Rebecca! I am so glad you are here on this journey with me! Here, I am sharing my passions including gardening, cooking, baking, crafting, natural living and so much more! In addition to the content  I share on my YouTube page, I also write a blog.

It took a long time for the things I am passionate about to awaken within me. Now that they have, I am eager to share them with others.

Among the many things I am passionate about, gardening is one of them. In addition to gardening, I also enjoy different areas of art, crafting, photography and home project DIY.

RECENT POSTS
Our gallery
It is my desire to inspire others to take small steps that will result in big changes in your lifestyle.
It doesn't have to cost a lot or be overwhelming!
Print Friendly, PDF & Email
Save For Later!

Disclaimer: This section contains affiliate links, which means I may earn a small commission when you purchase through links on my site at no additional cost to you.

The Gift of Raspberries!

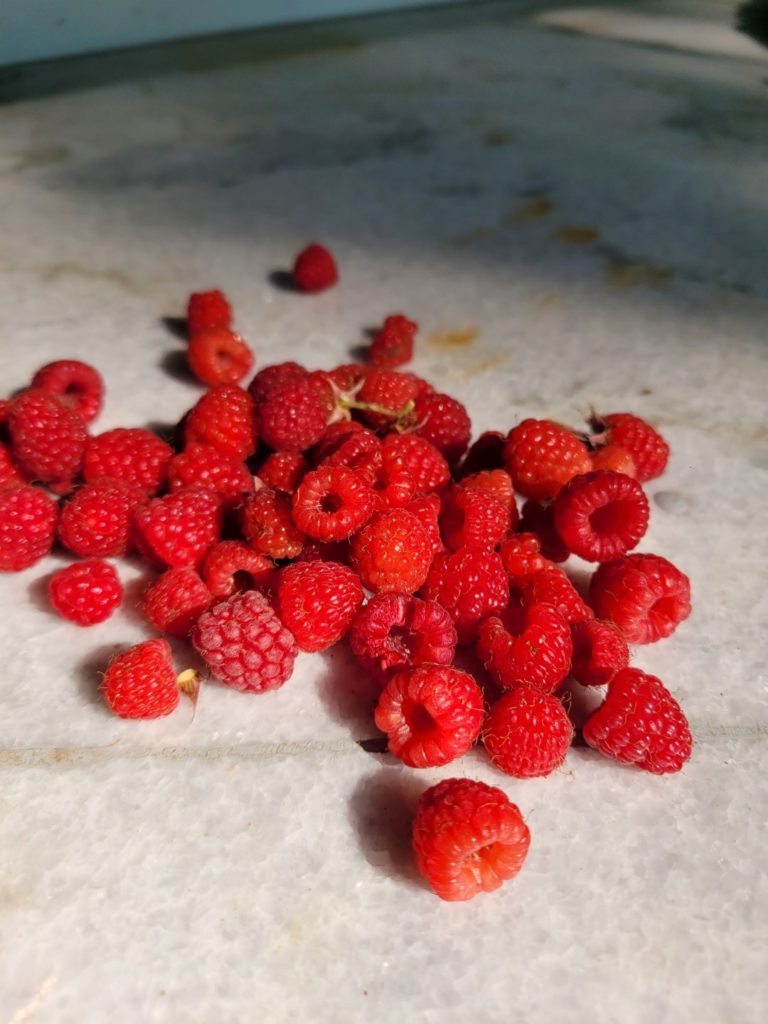
Not only did my mom gift me with 49 raspberries bushes that she thinned out, she also shared with me raspberries from her very abundant crop this season! I planted the bushes she gave me in my garden and much to my surprise, they did yield some berries this year! I did not, however, have near the harvest that my mom did. When I suddenly found myself with a large amount of berries on hand, I knew I needed to do something with them so they wouldn’t go to waste. I had recently made a raspberry filling for the cupcakes I made for my son’s birthday. It was so delicious that I decided I would make another batch with the berries I was gifted by my mom.

Raspberries from my garden
Early buds blooming

Versatile Uses

What You'll Need

When I first made this recipe, I did so with the intention of filling cupcakes for my son’s birthday. I quickly realized that this could also be used as a syrup for pancakes and french toast. It would even make a great filling for crepes. I warmed some up and used it as a topping on vanilla ice cream and it was so delicious! The potential is really only limited by your own imagination!

This recipe is very similar to my strawberry jam recipe and just as easy to make!

This recipe only requires a few simple ingredients to make. 

Ingredients:

* Raspberries – You can use fresh or frozen. 

* White Granulated Sugar – The sugar in this recipe helps sweeten the filling.

* Water – The water in the recipe helps bring everything together.

* Lemon – Add the juice and zest of 1 lemon to cut the sweetness of the added sugar.

* Cornstarch – Adding cornstarch to water will help thicken the sauce.

Equipment:

* Strainer – You will want to rinse your raspberries in a strainer prior to adding them to the stove. (You will need a mesh strainer to strain the seeds and pulp).

* Medium Sauce Pan – You will want a big enough pan to accommodate the ingredients and enough room for bubbling while cooking.

* Heat Proof Spatula – You will be stirring the berries consistently, so you will want a heat proof spatula while making this recipe.

* Measuring Cup – Needed to measure out the sugar and water.

* Lemon Zester – You will need this to obtain the zest of the lemon.

* Bowls – You will want bowls for mixing the cornstarch and to add the filling to once strained.

How to Make This Recipe

Measure out 2 pints of raspberries and rinse them in a strainer to remove any dirt. Try not to squish them too much to avoid a mess.

Once rinsed, add into your sauce pan on the stove.

Add 3/4 cup of white granulated sugar, the zest and juice of one lemon and water.

Mix together to incorporate all ingredients.

Turn the stove on medium high heat and let berries come to a boil.

Allow berries to boil for 2-3 minutes, then reduce to a simmer for 10-15 minutes.

While berries are simmering, add 3 tablespoons of cornstarch and 3 tablespoons of water to a bowl, mix well.

Remove berries from heat and empty into mesh strainer with a bowl underneath. Push out all the raspberry juice, leaving the seeds and pulp behind.

Add the raspberry juice back into the pan you simmered it in (make sure you rinse it first).

Turn the heat on low and add cornstarch mixture to berry juice. Simmer for another 10 minutes on low to thicken the sauce.

Remove from heat and let cool for at least half an hour.

Store in fridge for up to 2 weeks.


ABOUT AUTHOR
Rebecca

Hello, I am Rebecca! I am so glad you are here on this journey with me! Here, I am sharing my passions including gardening, cooking, baking, crafting, natural living and so much more! In addition to the content  I share on my YouTube page, I also write a blog.

It took a long time for the things I am passionate about to awaken within me. Now that they have, I am eager to share them with others.

Among the many things I am passionate about, gardening is one of them. In addition to gardening, I also enjoy different areas of art, crafting, photography and home project DIY.

RECENT POSTS
Our gallery

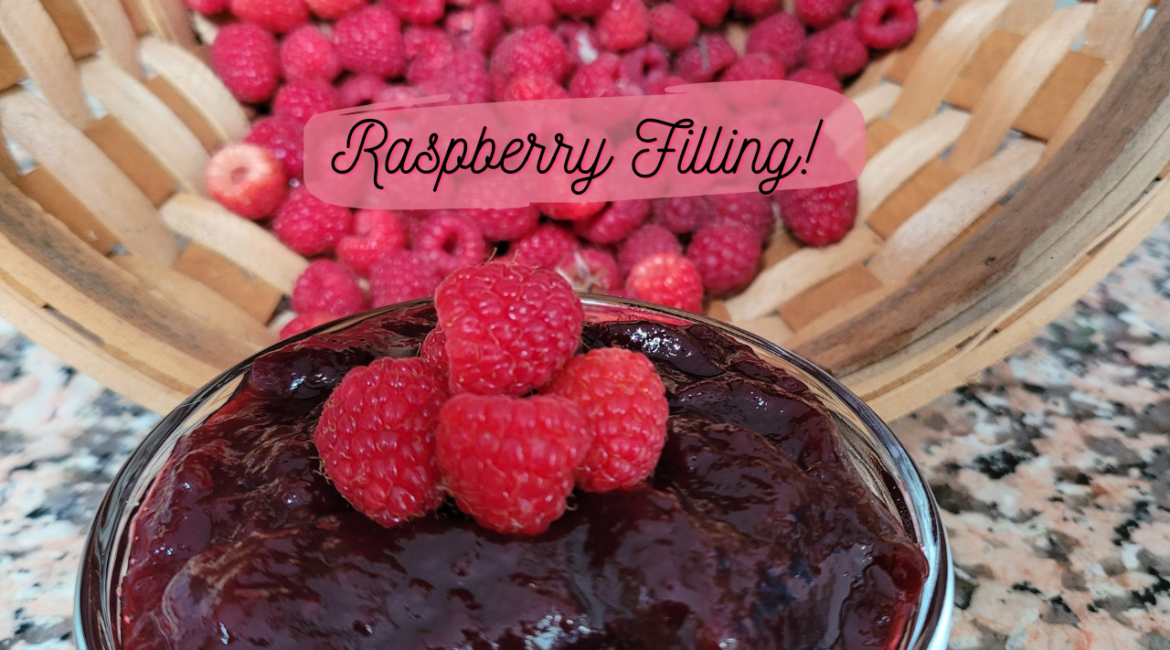
Easy Raspberry Filling!

This raspberry filling can be used in cake, cupcakes, or even as a syrup on pancakes!

Ingredients
  

  • 2 pints raspberries
  • ¾ cup granulated sugar
  • ¼ cup water (plus 3 tbls)
  • 3 tablespoons cornstarch
  • juice of 1 lemon
  • zest of 1 lemon

Instructions
 

  • Measure out 2 pints of raspberries and rinse them in a strainer to remove any dirt. Try not to squish them too much to avoid a mess.
  • Once rinsed, add into your sauce pan on the stove.
  • Add 3/4 cup of white granulated sugar, the zest and juice of one lemon and water.
  • Mix together to incorporate all ingredients.
  • Turn the stove on medium high heat and let berries come to a boil.
  • Allow berries to boil for 2-3 minutes, then reduce to a simmer for 10-15 minutes.
  • While berries are simmering, add 3 tablespoons of cornstarch and 3 tablespoons of water to a bowl, mix well.
  • Remove berries from heat and empty into mesh strainer with a bowl underneath. Push out all the raspberry juice, leaving the seeds and pulp behind.
  • Add the raspberry juice back into the pan you simmered it in (make sure you rinse it first).
  • Turn the heat on low and add cornstarch mixture to berry juice. Simmer for another 10 minutes on low to thicken the sauce.
  • Remove from heat and let cool for at least half an hour.
  • Store in fridge for up to 2 weeks.

Video